


|
Adding an Image Box
You can add logos or other graphics to a dashboard using an Image Box.
These can be retrieved from disk or retrieved at display time from an external URL.
Steps:
1. After double-clicking or drawing a rectangle on the dashboard
canvas, click  on
the Select Part pane then click the Image Box
on
the Select Part pane then click the Image Box  icon.
icon.
The Image Box pane is displayed, and the Image Box part is added on the dashboard canvas.
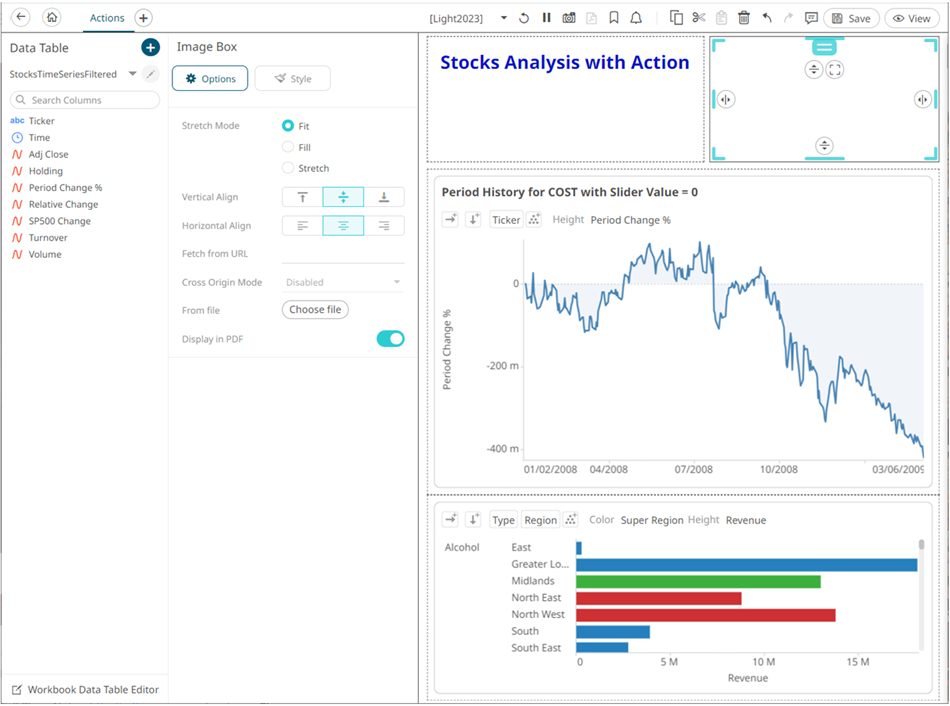
2. Select the Stretch Mode: Fit, Fill, or Stretch.
3. Select the Vertical Align: Bottom  , Middle
  , or Top
4. Select the Horizontal
Align: Left
 , Center
 , or Right

5. You can either:
· enter the URL of the image file in the Fetch from
URL text box and click  .
.
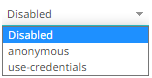
This enables the Cross Origin Mode drop-down list which allows for cross-origin attribute configuration on the image when doing a Copy Dashboard Image. Available states include:
· click  to
browse the image file in the Open dialog.
to
browse the image file in the Open dialog.
6. Tap the Display in PDF slider to include the image in the PDF output.
7. To set the style of the Image Box, click
Style  .
.
The page updates to display the Style pane.
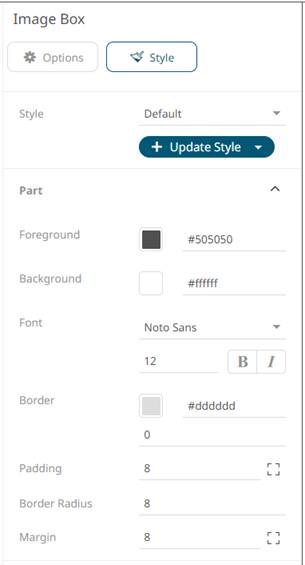
8. See Defining the Style of General Parts to set the style.
9. Click Update Style  and select any of the following options:
· Set current as default – Save the changes and set it as the default.
· Create custom style – Save the changes and set it as a custom style.
The Style pane updates to display the Title control.
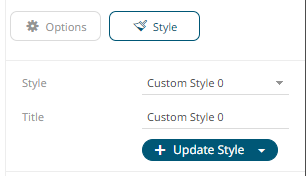
¨ Enter the custom style’s Title.
¨ If there are additional changes made, click Update Current Style in the Update Style drop-down.
The new custom style is added in the Workbook > Theme > Custom Styles list.
If published, the custom style configuration of the image box will be added to the Global custom styles list and can be applied to other parts.
· Reset to default – Revert to the original default settings.
10. Click the Save  icon on the toolbar
to save the changes.
icon on the toolbar
to save the changes.
When saved, the  notification is displayed.