Edit Solver Specific Data (Template Data)
Every entity is assigned solver specific data, which you can modify using the Entity Editor.
Assign a Card Image
In the Entity Editor, you can assign a card image to an entity. The card images you are able to assign depend on the entity type you have selected in the browser.
Import and Export Data
- Import from file
- Append from file
- Export to file
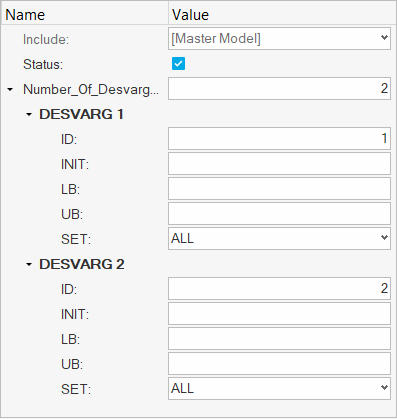
Figure 1.
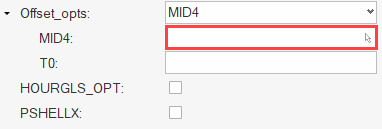
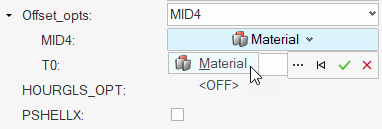
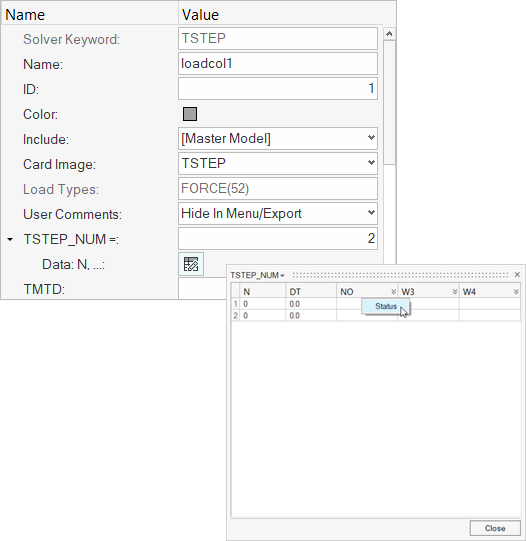
Turn Fields ON or OFF
Assign Entities
In the Entity Editor you can assign certain entities to another entity or a group of entities.
For example, you can assign a property to a component. When an entity has an entity assigned to it, the name and ID of the assigned entity will be displayed in the Value field. If an entity does not have an entity assigned to it, the Value field will display <Unspecified>.
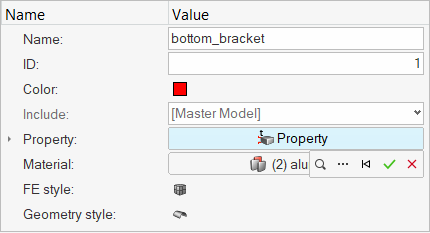
Figure 11.
If available, you can expand a drop down menu on the entity selector to view more entity types.
-
Select entities to assign in the following ways:
- Click
 , press ".", or press
Ctrl + Spacebar to select by typing names or IDs.
While typing, the selection search function provides live suggestions of:
, press ".", or press
Ctrl + Spacebar to select by typing names or IDs.
While typing, the selection search function provides live suggestions of:- Entity names that contain the typed search terms (separated by
space) somewhere in their name.Tip: If you wish to treat spaces as characters instead of search term separators, turn on the Match Exact Phrase option in the Preferences dialog, located in .
- Entity IDs that begin with a numeric search term.
A live suggestions list will show partial matches for names and IDs while typing, up to a certain number (configurable in ). If the model contains more partial matches than listed in the suggestions list, click Browse More, or press Ctrl + Enter, to browse and select from the full partial match list.Tip: Live partial match suggestions are available for entity counts of up to 100,000. However, you can still select by typing names or IDs regardless of model size, and full match suggestions will be still provided and selectable. - Entity names that contain the typed search terms (separated by
space) somewhere in their name.
- Click
 to open the
Advanced Selection dialog. Select entities then
click OK.
 - Select entities in the modeling window.
If the Advanced Selection dialog is open, the corresponding entity is automatically selected in the dialog.
- Click
-
To confirm your selection and assign the entity, click
 .
.
-
To clear your selection or unassign an entity, click
 .
.
-
To exit the entity assignment tool, click
 .
.
Resolve Unresolved Entities
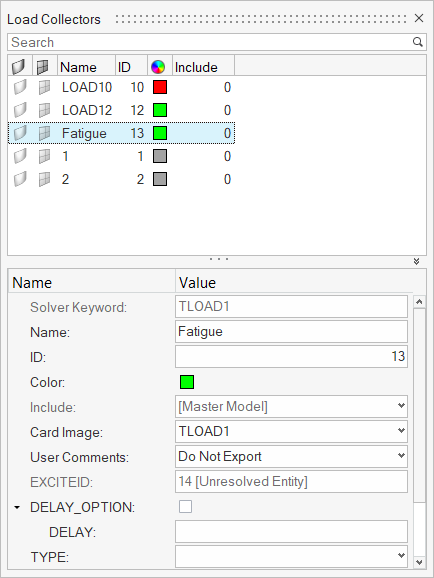
Figure 12.
-
Right-click on an unresolved entity, or click
 , then select Clear unresolved entity from the
context menu.
- Click the entity's Value field.
- Use the entity selector to choose a new entity.
Keyboard Shortcuts
| Function Key | Description |
|---|---|
| Tab | Moves from one row to the next in the Entity Editor. |
| Shift + Tab | Moves to the previous row in the Entity Editor. |
| Spacebar | Activates the Value field of the selected row. |
| Move up and down in the Entity Editor, a list of options in drop-down menus, or in a right-click context menu. | |
| Enter | Accepts the changes made to a parameter in the Value field, or selects an option in a right-click context menu. |
| Esc | Dismisses the changes made to a parameter in the Value field, or closes a right-click context menu. |
