HMCFD-T: 3000 Post-Processing
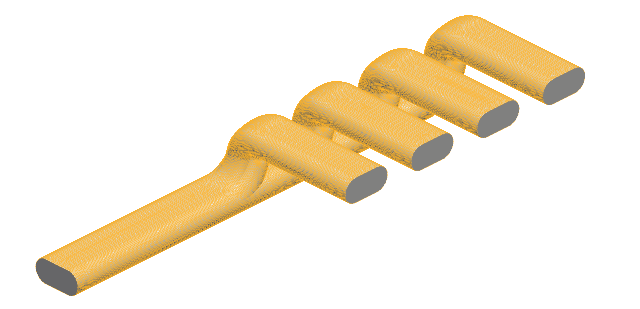
In this tutorial, you will look at some of the post-processing tools available in HyperMesh CFD. You will use an exhaust manifold model to help explore the various options while post-processing the geometry.
Load the Results in Post
Create Boundary Groups for the Outer Walls of the Manifold
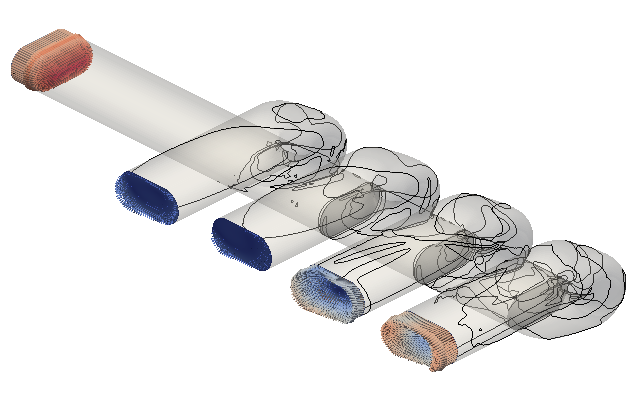
Set Velocity Contours and Vectors on the Inlets and Outlets
Set Pressure Contours on the Internal Surfaces
Visualize Streamlines from the Inlet
Animate Streamlines
- Right-click on Streamlines 1 in the Post Browser and select Animate from the context menu.
-
Click
 on the Animation toolbar.
- Set the number of steps to 50 and choose a desired speed.
-
Click
 to start the animation.
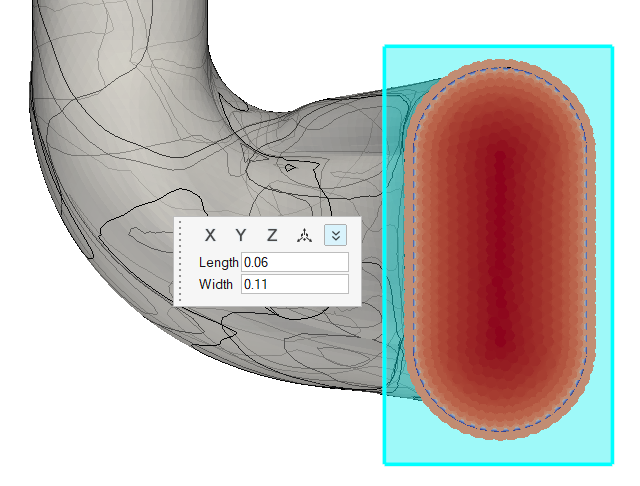
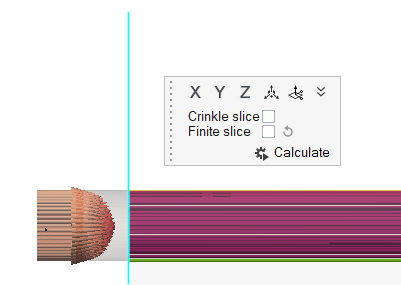
Create a Slice Plane
Animate the Slice Plane
- Hide the streamlines from view in the Post Browser.
- Right-click on Slice Plane 1 and select Animate from the context menu.
-
Click
 on the Animation toolbar.
- Set the number of steps to 100 and choose a desired speed.
-
Click
 to start the animation.
Save, Export, and Apply States
- From the menu bar, select .
- Choose a destination to save the file, give it a name, then click Save.
The saved state can be imported anytime post is open with the results file (Log file) loaded. To apply a state to a post-processing instance:
- Right-click on top level (Model_Name) folder in the Post Browser and select Apply State from the context menu.
- Browse to the state file on your machine and click Apply to load the state.


