ACU-T: 1000 Basic Flow Set Up
This tutorial introduces you to the workflow for setting up a Computational Fluid Dynamics (CFD) analysis using Altair HyperMesh CFD. HyperMesh CFD is a powerful tool which provides a single, streamlined platform for performing a CFD analysis, starting from importing CAD through post-processing results. In this tutorial, you will learn how to use HyperMesh CFD for setting up a CFD analysis while exploring different capabilities available within the software for importing a geometric model, validating the geometry, setting up simulation parameters and boundary conditions, and generating a mesh. You will then launch AcuSolve simulation directly from HyperMesh CFD and post-process the results using HyperMesh CFD Post.
Prerequisites
To run this simulation, you will need access to a licensed version of HyperMesh CFD and AcuSolve.
Analyze the Problem
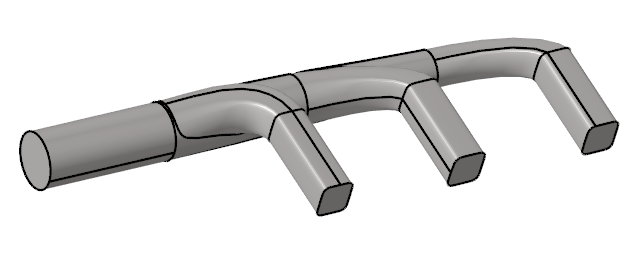
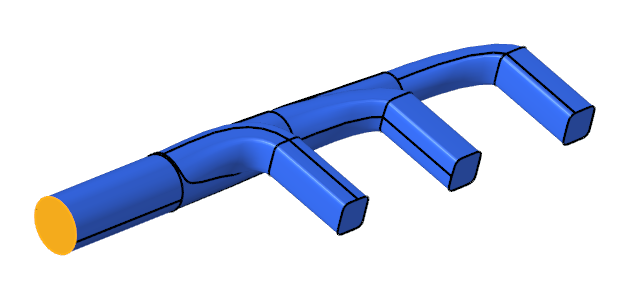
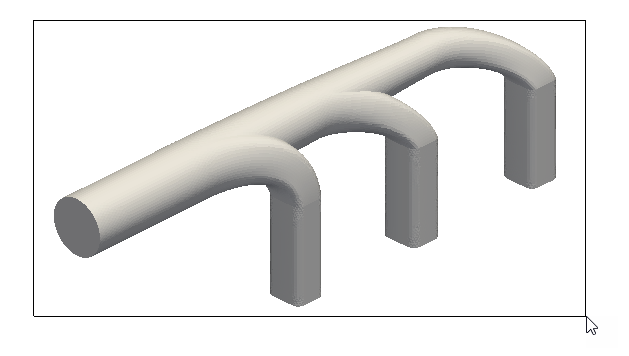
An important step in any CFD simulation is to examine the engineering problem at hand and determine the important parameters that need to be provided to AcuSolve. Parameters can be based on geometrical elements, such as inlets, outlets, or walls, and on flow conditions, such as fluid properties, velocity, or whether the flow should be modeled as turbulent or as laminar.

Figure 1. Schematic of the Problem
Start HyperMesh CFD and Create the HyperMesh Model Database
Import and Validate the Geometry
Import the Geometry
Validate the Geometry
Set Up the Problem
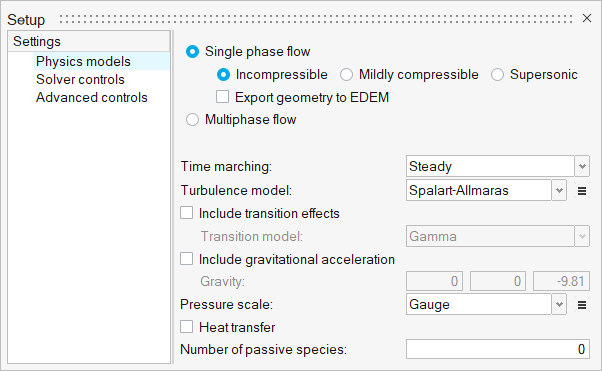
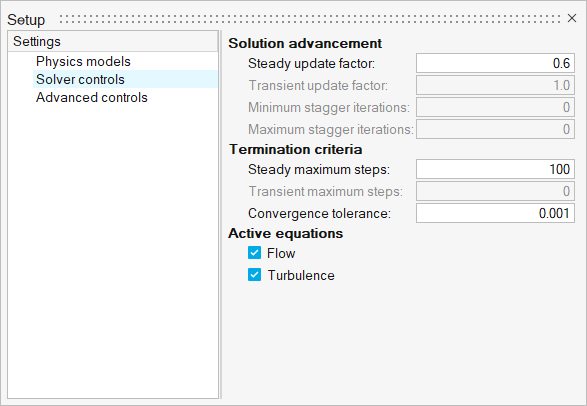
Set Up the Simulation Parameters and Solver Settings
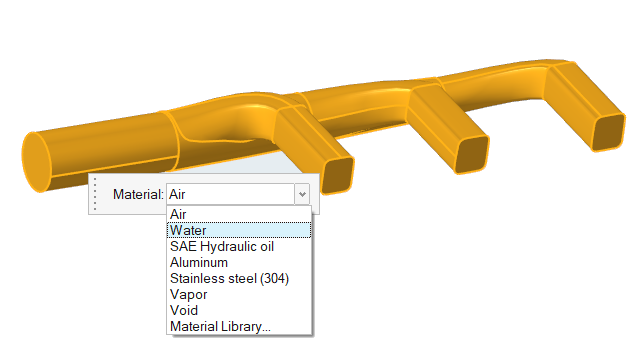
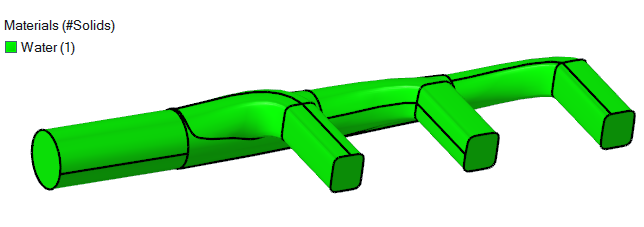
Assign Material Properties
Assign the Flow Boundary Conditions
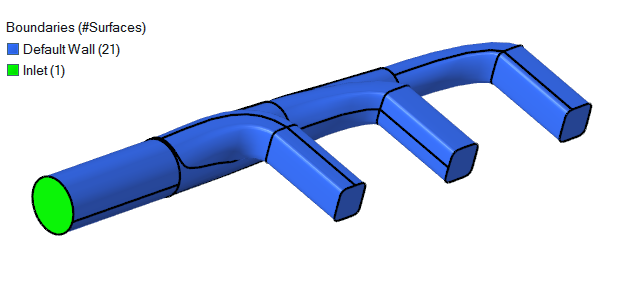
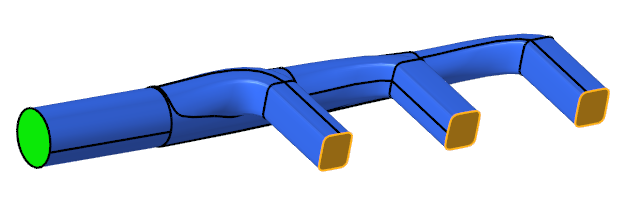
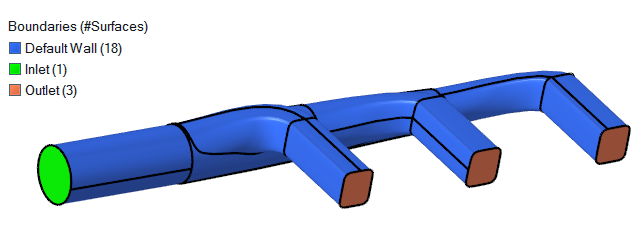
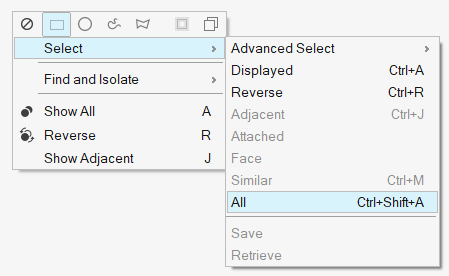
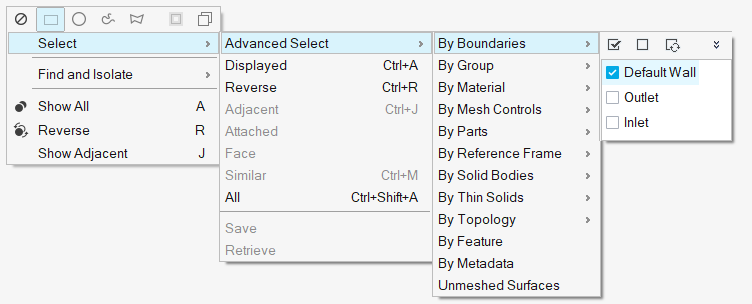
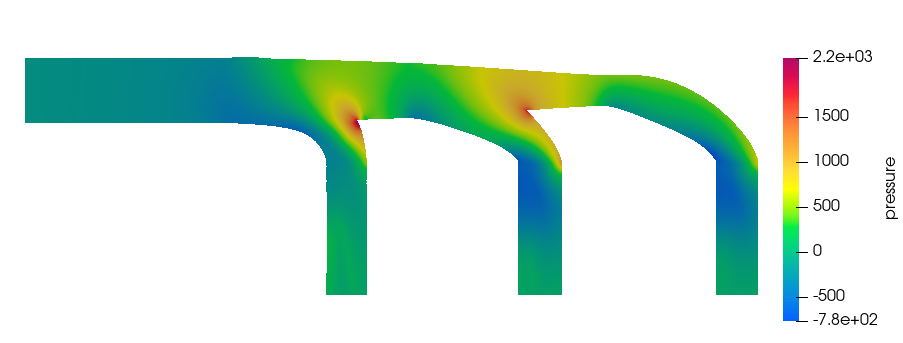
The current model has one inlet, three outlets, and walls for the rest of the surfaces. When a geometry model is imported into HyperMesh CFD, all the surfaces are placed in the Default Wall (i.e. Type = auto_wall). As you start assigning the surface boundary conditions, those surfaces are moved into a new boundary condition group. All the surface boundary condition tools are placed under the Boundaries sub-section of the Flow ribbon.
Define Mesh Controls
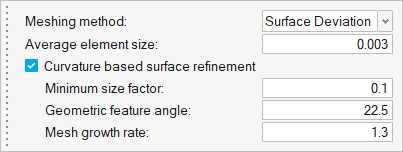
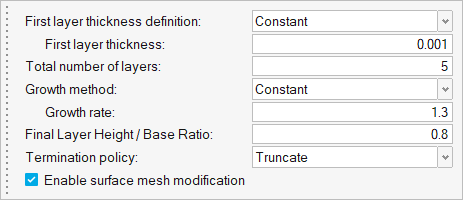
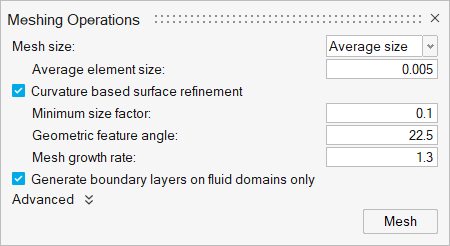
Now that you have assigned the material properties and boundary conditions, you will define the meshing parameters for the model and then generate the mesh.
Define the Surface Mesh Controls
Define the Boundary Layer Mesh Parameters
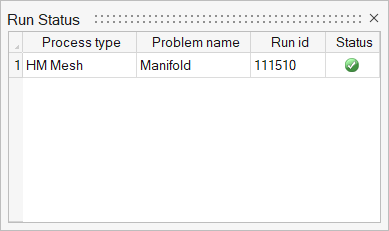
Generate the Mesh
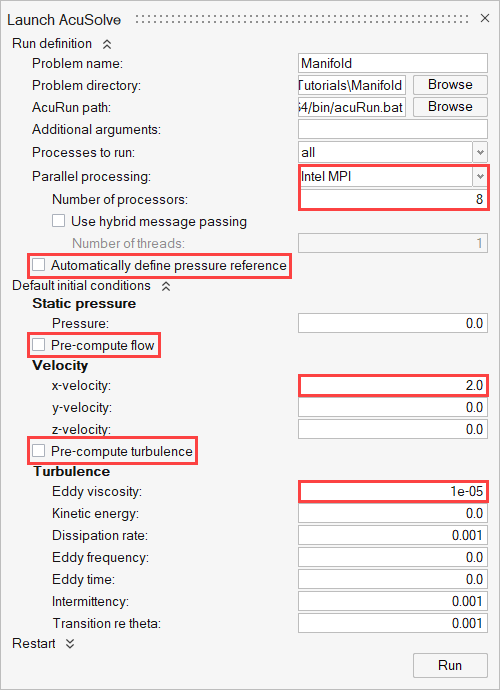
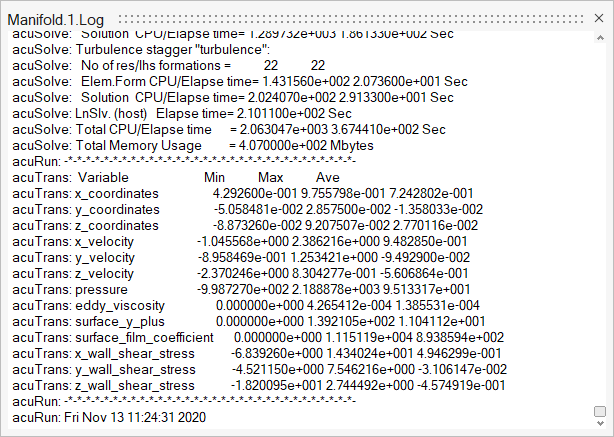
Run AcuSolve
Post-Process the Results with HyperMesh CFD Post
This part of the tutorial shows you how to work with a steady state solution using HyperMesh CFD Post.
Load the Results
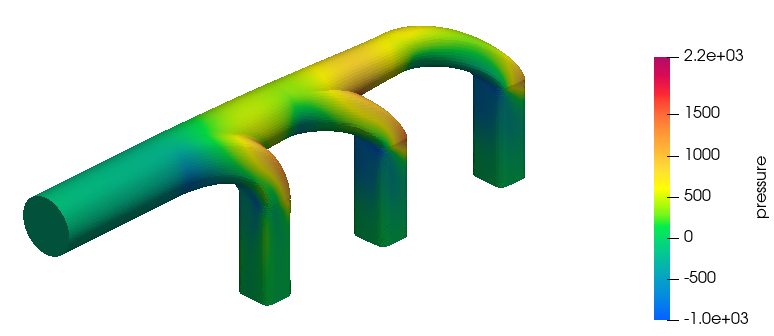
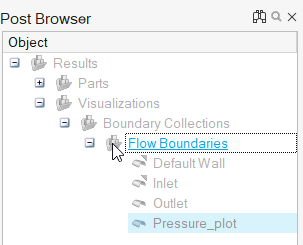
Create Pressure Contours on Boundary Surfaces
Plot Velocity and Pressure Contours on a Section Cut
Summary
In this tutorial, you worked through a basic workflow to carry out a CFD simulation and post-process the results using HyperMesh CFD. You started by importing the geometry and meshing the model in HyperMesh CFD. You also set up the model and launched AcuSolve directly from within HyperMesh CFD. Upon completion of the solution by AcuSolve, you post-processed the results in the Post ribbon. You learned how to create contours on the boundary surfaces and section cuts.
