About Representations
Different methods for modeling a part are called representations.
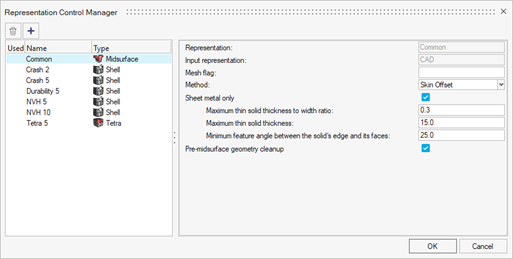
Figure 1. Representation Control Manager
Each representation has a name and type assigned. The representation types that can be automatically created through BatchMesher are: Geometry, Midsurface, Display, CFD 2D Mesh, Hexa Bounding Box, Hexa Thin Solid, Midmesh, Rigid Body Mesh, Shell and Tetra.
| Name | Type |
|---|---|
| CAD | Geometry |
| Commons | Midsurface |
| Display | Display |
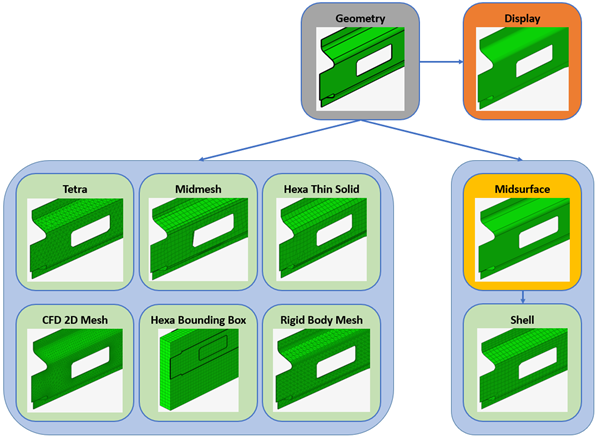
Figure 2. Representation Types
- Shell
- Create a 2D mesh on the midsurface of the selected parts. Common representation is taken as input and utilises BatchMesher's param and criteria files.
- Tetra
- Mesh the volume enclosed by solids using first or second order tetrahedral elements. CAD representation is taken as input.
- Midmesh
- For parts such as castings, rather than creating a midsurface representations, you can directly extract the midmesh if desired. CAD representation is taken as input.
- CFD 2D Mesh
- Mesh the boundary surface of parts. CAD representation is taken as input.
- Rigid Body Mesh
- Create a mesh to represent the topology of a rigid object. The rigid body mesh focuses on accurately modeling the shape of a part rather than on producing a high-quality mesh. CAD representation is taken as input.
- Hexa Bounding Box
- Create a hexa-meshed bounding box representation for the selected parts. Regardless of the input, a cuboid mesh of hexahedral elements is generated using the maximum dimensions of the part. CAD representation is taken as input.
- Hexa Thin Solid
- Create 3D mesh on thin solids. The mesh is created by first generating a 2D mesh on an auto-selected set of source faces, then extruding this mesh to generate solid hexa or wedge elements. CAD representation is taken as input.
A folder-based representation repository stores all CAE data created during the model build and assembly process. CAE data stored in the representation repository includes the geometric and FE representations of the parts.
Common Representation
The Common representation consists of midsurfaced geometry. It is derived from the CAD representation and forms a single, common input for creating any subsequent discipline-specific shell mesh representations. This common input enables one-time creation and clean-up steps for all future shell representations.
During creation, the CAD is sent to the BatchMesher for midsurface extraction. Upon completion the CAD is saved to the repository and you can opt to immediately load the representation into the session.
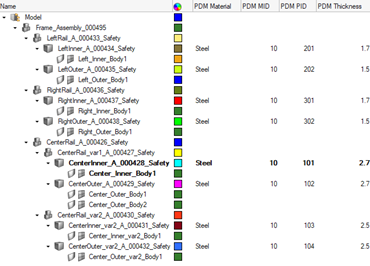
Alternatively, you can send solid parts to the BatchMesher. If thin-solid detection is enabled in the Common representation control (see Define Representation Controls), solids are detected and saved as the Common representation without processing. By default, the midsurface algorithm "skin" is used. CAD representation does not need to be loaded into the session to generate the Common representation, since it is sent directly to the BatchMesher for processing.
When you create a Shell representation, the Common representation residing in the repository is automatically sent to the BatchMesher for processing. The Common representation does not need to be loaded in the session to generate Shell representations. In case it does not exist, it is automatically generated by extracting the midsurface from the CAD representation.
Display Representation
The main purpose of this tool is to provide a lightweight version of imported geometry that allows fast loading of large assemblies, leading to significant time savings. This is a convenient way to perform initial inspections of the model. You can select the Display representation option when importing Geometry files (Figure 4) and after importing a BOM file (Figure 5).
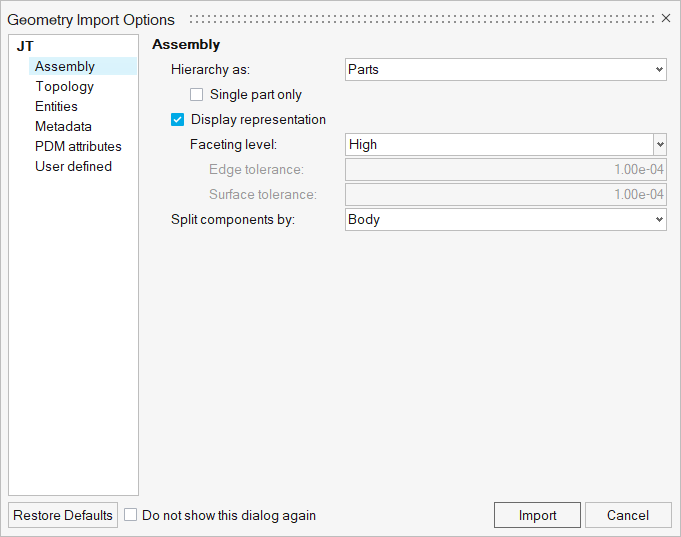
Figure 4. Importing Geometry
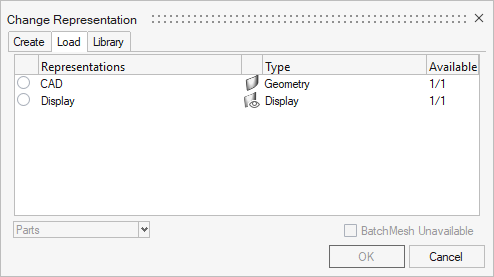
Figure 5. Display selection
Supported geometry file formats are: Acis, Catia, CatiaV6, Creo, Inspire, Inventor, JT, Rhino, NX native, NX third party, Parasolid, SLDPRT/SLDASM, STEP, VDAFS.
Respective import options can be accessed from the Part Browser using the context menu .
- Choose Low to set the faceting level to the lowest level.
- Choose Medium to set faceting level to its normal (default option).
- Choose High to set the faceting level to its maximum.
- Choose Custom to set the edge and surface tolerance manually (default: 1e-04).